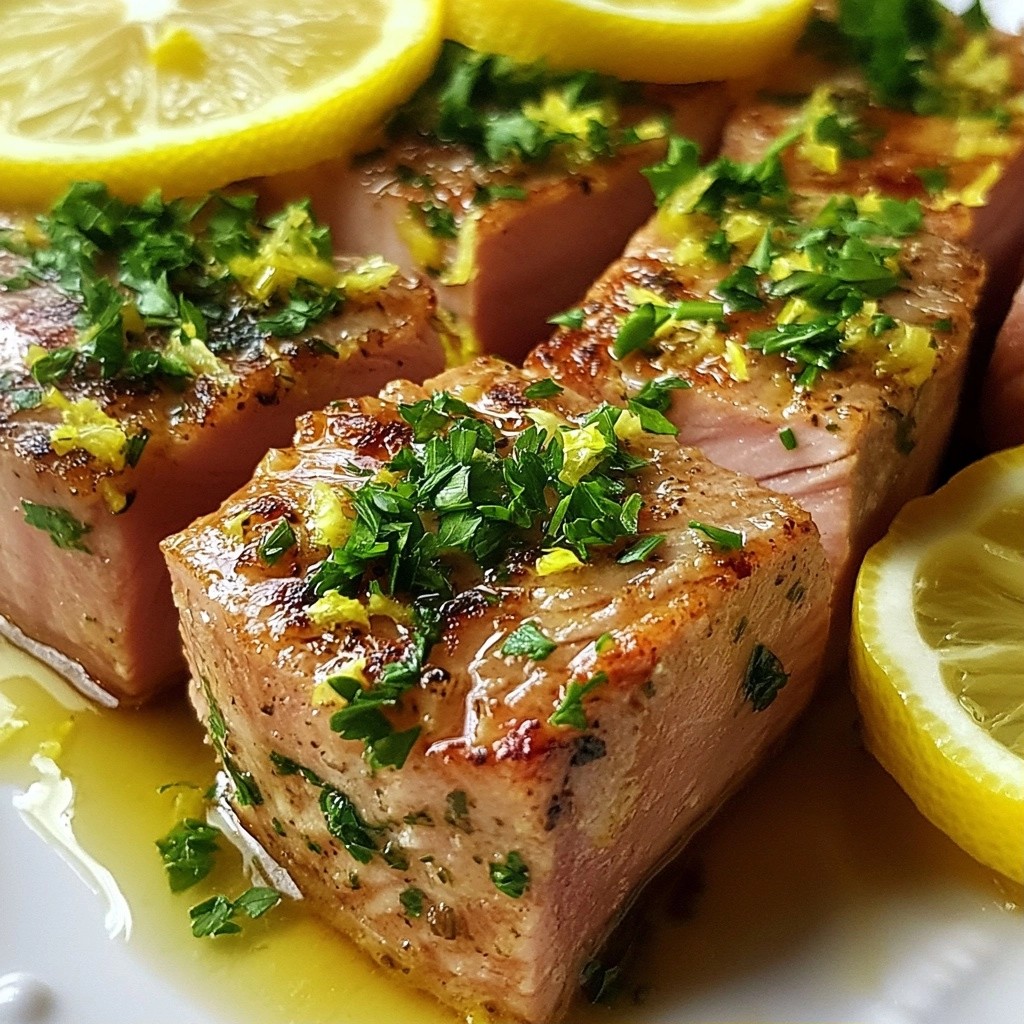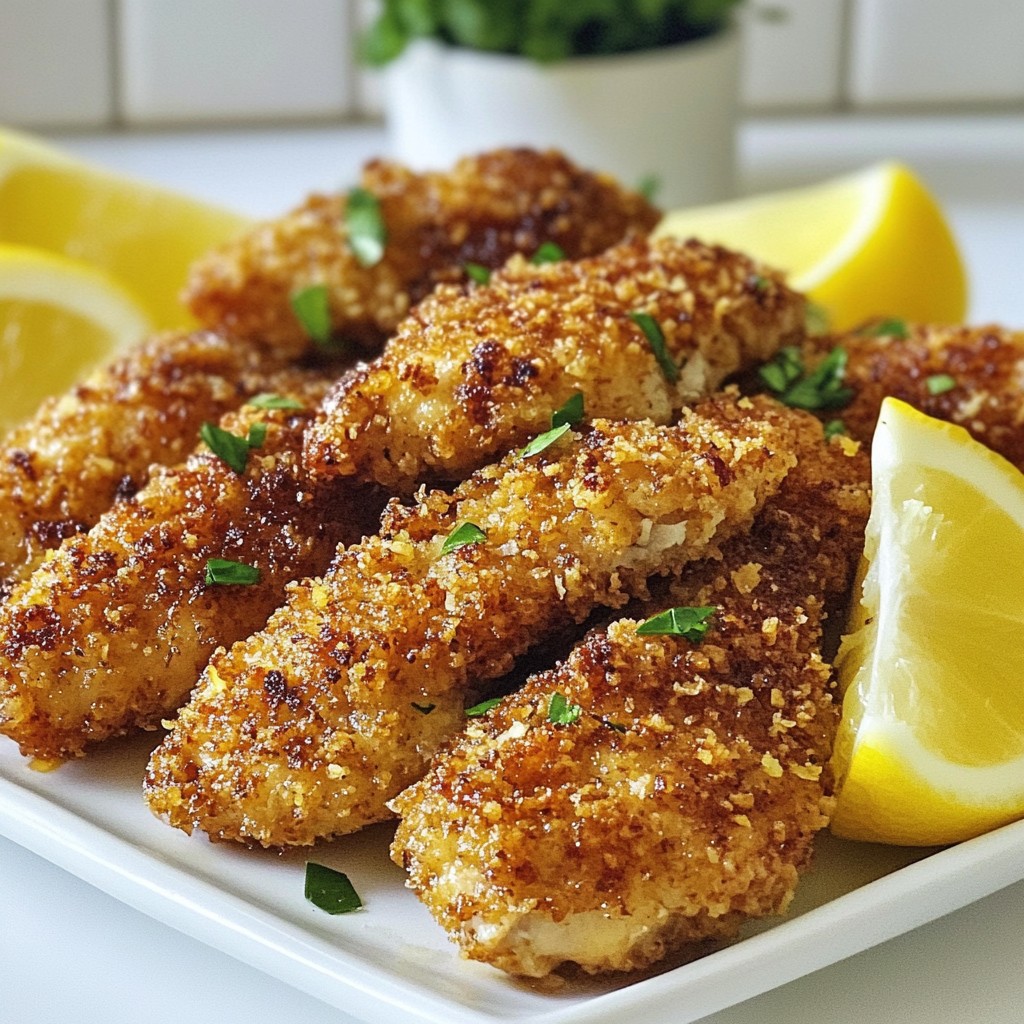
Looking for a quick and tasty dinner? My Crispy 15-Minute Lemon Garlic Chicken Tenders are just what you need! With simple ingredients, you can create chicken that’s tender inside and crispy outside. In this post, I’ll guide you step-by-step, share handy tips, and suggest tasty variations. Whether you’re in a rush or just want something delicious, you’ll love these tenders. Let’s get cooking!
Why I Love This Recipe
- Quick and Easy: This recipe takes only 20 minutes, making it perfect for busy weeknights.
- Crispy Texture: The panko breadcrumbs create a delightful crunch that everyone will love.
- Flavorful Zing: The combination of lemon and garlic adds a fresh and vibrant flavor to the chicken.
- Customizable: Feel free to experiment with different spices or serve with your favorite dipping sauces.
Ingredients
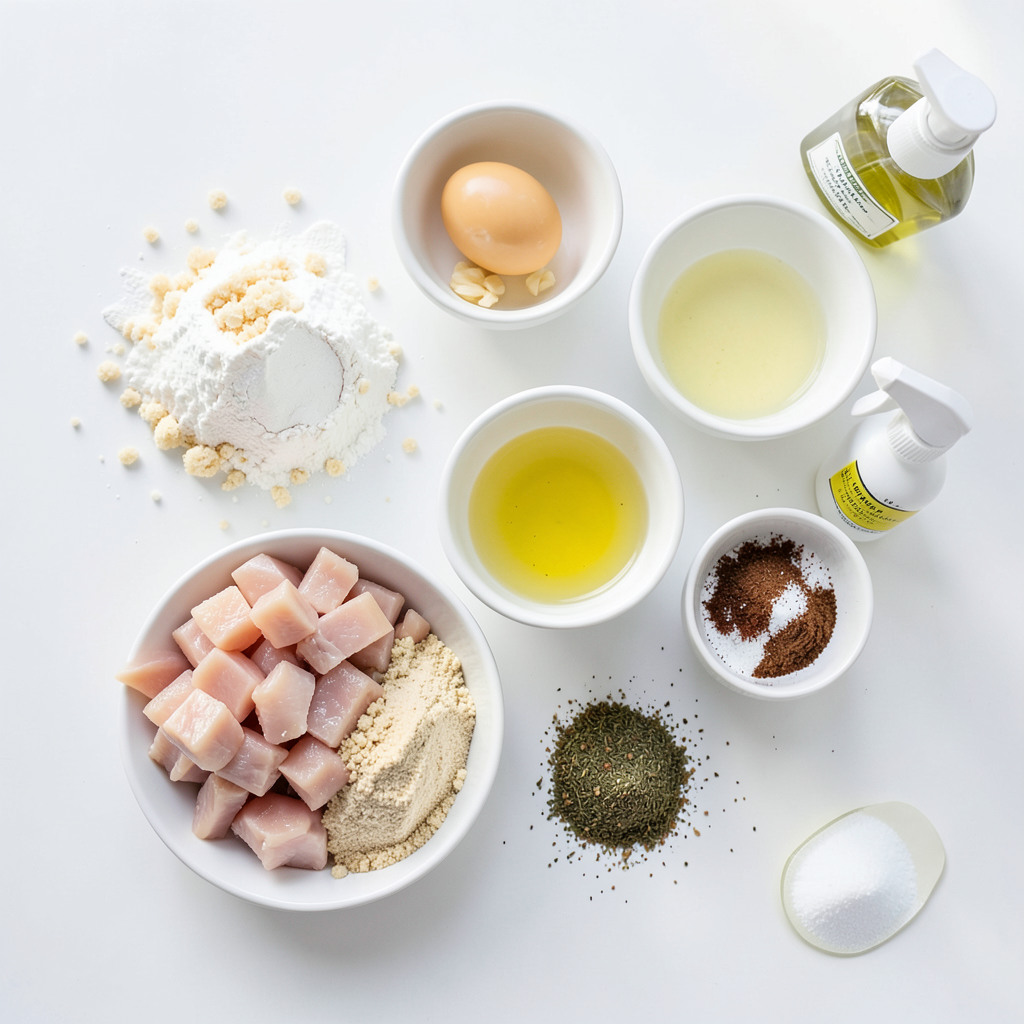
List of Ingredients
- 1 lb chicken breast, cut into tenders
- 1 cup panko breadcrumbs
- 1/2 cup all-purpose flour
- 2 large eggs
- 2 tablespoons lemon juice
- 2 cloves garlic, minced
- 1 teaspoon garlic powder
- 1 teaspoon onion powder
- 1 teaspoon dried oregano
- 1/2 teaspoon paprika
- Salt and pepper to taste
- Olive oil spray
These ingredients come together to create crispy, flavorful chicken tenders. Each one plays a key role. The chicken breast is lean and juicy. The panko breadcrumbs bring the crispiness. The flour helps the coating stick well. The eggs and lemon juice add moisture and flavor. Garlic and spices make it taste amazing.
Ingredient Substitutions
If you want to switch things up, you can easily make changes. For the chicken, you could use chicken thighs for more flavor. Instead of panko, you might try regular breadcrumbs, but they won’t be as crispy. If you need a gluten-free option, use almond flour or gluten-free breadcrumbs. For eggs, a flaxseed mixture can work well as a substitute.
Recommended Fresh Herbs
Fresh herbs can lift the flavors even more. I love adding fresh parsley or thyme. They brighten up the dish and add a fresh taste. You can mix them into the breadcrumbs or sprinkle them on top. Basil also pairs well with lemon and garlic. Just chop them finely and use them as you wish.
Step-by-Step Instructions
Preparing the Chicken
Trim any excess fat from the chicken breast. Cut it into strips to make tenders. Pat the chicken dry using paper towels. This step helps the coating stick and keeps the tenders crisp.
Setting Up Dredging Stations
Grab three bowls. In the first bowl, mix all-purpose flour with salt and pepper. In the second bowl, whisk two eggs with lemon juice, minced garlic, and a pinch of salt. The egg mixture helps the coating stick. In the third bowl, combine panko breadcrumbs with garlic powder, onion powder, oregano, paprika, and a sprinkle of salt. This mix adds flavor and crunch to the tenders.
Coating and Baking the Tenders
Take one chicken tender and coat it in the flour first. Shake off any extra flour. Next, dip the tender into the egg mixture, letting the excess drip off. Finally, roll it in the seasoned panko breadcrumbs, pressing gently to help it stick. Preheat your oven to 425°F (220°C) and line a baking sheet with parchment paper. Arrange the coated tenders on the sheet in one layer. Lightly spray the tops with olive oil to help them crisp up. Bake for 12-15 minutes, flipping halfway through. The tenders should be golden brown and cooked through. Enjoy them hot with lemon wedges and your favorite dipping sauce!
Tips & Tricks
Ensuring Crispy Texture
To get your chicken tenders crispy, follow a few key steps. First, dry the chicken well before coating. This helps the breading stick better. Use panko breadcrumbs for that extra crunch. They are lighter than regular breadcrumbs. A light spray of olive oil on top before baking also aids in crisping. Bake at 425°F (220°C) for the best results.
Avoiding Common Mistakes
One common mistake is overcrowding the baking sheet. This traps steam and makes the chicken soggy. Always give each tender space to breathe. Another mistake is not flipping the tenders halfway. Flipping ensures even cooking and browning. Lastly, don’t skip the seasoning. Salt and pepper in the flour make a huge difference in flavor.
Alternative Cooking Methods
If you want to switch things up, try pan-frying instead of baking. Heat some oil in a skillet over medium heat. Cook the tenders for 4-5 minutes on each side until golden. You can also use an air fryer. Set it to 400°F (200°C) and cook for about 10-12 minutes, flipping halfway. Both methods give a nice crispy finish without the oven.
Pro Tips
- Tip: Choose the Right Chicken: Use fresh, high-quality chicken breast for the best texture and flavor in your tenders.
- Tip: Panko Perfection: Make sure to use panko breadcrumbs for an extra crispy coating that will elevate your dish.
- Tip: Don't Rush the Coating: Allow each chicken tender to set for a few minutes after coating to ensure the breading adheres well during baking.
- Tip: Experiment with Flavors: Feel free to add your favorite herbs or spices to the breadcrumb mixture for a personalized touch!
Variations
Spicy Lemon Garlic Chicken Tenders
For a kick, add heat to your lemon garlic chicken tenders. Mix in some red pepper flakes or cayenne pepper into the panko breadcrumbs. This small change makes a big difference. You can adjust the spice level to suit your taste. If you love heat, add more! Serve with a cooling dip like ranch or yogurt.
Gluten-Free Option
To make these tenders gluten-free, swap the all-purpose flour and panko breadcrumbs. Use almond flour or gluten-free flour for coating. For breadcrumbs, try crushed gluten-free crackers or cornflakes. These swaps keep the crispiness and flavor. You’ll enjoy delicious tenders without the gluten.
Herb-Infused Variations
Add fresh herbs for more flavor. Chopped parsley or cilantro can brighten the dish. Mix dried herbs like thyme or basil into the panko mix too. You can even use Italian seasoning for an easy twist. These herb variations create a unique taste with every bite.
Storage Info
How to Store Leftovers
To store leftovers, let the chicken tenders cool to room temperature. Place them in an airtight container. They can stay in the fridge for up to three days. For best results, layer parchment paper between tenders to keep them crispy.
Reheating Instructions
When you are ready to eat leftovers, preheat your oven to 375°F (190°C). Place the chicken tenders on a baking sheet. Heat them for about 10-12 minutes, or until warm and crispy. Avoid using the microwave, as it can make the tenders soggy.
Freezing Tips
If you want to freeze the chicken tenders, let them cool completely. Place them in a freezer-safe bag or container. They can last in the freezer for up to three months. To reheat, bake them straight from the freezer at 375°F (190°C) for about 15-20 minutes. This will help them regain their crunch.
FAQs
Can I use chicken thighs instead of chicken breast?
Yes, you can use chicken thighs. They are juicier than chicken breast. This can add more flavor and moisture to your tenders. Just remember to cut them into strips similar to the breast. Cooking time may be a bit longer, so check for doneness.
How do I make these tenders even crispier?
To make your tenders crispier, use panko breadcrumbs. They provide a lighter, crunchier texture compared to regular breadcrumbs. You can also double-dip: coat the chicken in flour, then egg, and then back in flour before panko. Lastly, spray the tops with olive oil before baking to ensure a golden finish.
What dipping sauces pair well with lemon garlic chicken tenders?
Lemon garlic chicken tenders go well with many sauces. Here are some tasty options:
- Honey mustard
- Ranch dressing
- Spicy mayo
- Garlic aioli
- BBQ sauce
These sauces enhance the lemon and garlic flavors in the tenders. Feel free to mix and match!
In this post, we covered key ingredients and step-by-step instructions for making chicken tenders. We shared tips for a crispy texture and how to avoid mistakes. You learned about variations, including spicy or gluten-free options, and how to store leftovers safely.
Enjoy your cooking journey with these delicious chicken tenders. Remember, the right ingredients and methods make a big difference!